Patio Pavers in Inwood, NY

Stop Wasting Your Backyard Space

Get a paver patio that actually gets used – built to handle Long Island weather and designed for how you live.

A backyard patio in NY featuring wooden Adirondack chairs around a small table, stone flooring crafted by a masonry contractor Long Island, a low stone wall with shrubs, and a large house with gray siding and white trim in the background.

Hear from Our Customers

They installed a new stone patio and steps in the backyard. Loving it!

The Google logo, featuring a capital letter "G" in blue, red, yellow, and green segments on a white background, is as easily recognized as a trusted masonry contractor Long Island, NY locals rely on.
Harold Rollings

Best landscape designers ever. They're doing my driveway soon too.

The Google logo, featuring a capital letter "G" in blue, red, yellow, and green segments on a white background, is as easily recognized as a trusted masonry contractor Long Island, NY locals rely on.
Wendy Adams

They do very professional work Hacen trabajo muy profesional

The Google logo, featuring a capital letter "G" in blue, red, yellow, and green segments on a white background, is as easily recognized as a trusted masonry contractor Long Island, NY locals rely on.
Lidys Martinez
A masonry contractor Long Island in NY, wearing red gloves and black shoes, is laying gray paving stones with a rubber mallet and tape measure on a partially completed outdoor surface with sand in the foreground.

Professional Paver Installation Inwood

Finally Use Your Outdoor Space

You know that feeling when you walk into your backyard and it just feels… empty? Like there’s potential there, but it’s not quite right for relaxing or entertaining.

A properly installed paver patio changes everything. You get a level, stable surface that works for morning coffee, weekend barbecues, or just unwinding after work. No more soggy grass or uneven concrete slabs that crack every winter.

The best part? You stop avoiding your own backyard. Instead of looking out the window and seeing wasted space, you see where you want to spend time.

Long Island Paver Company

Two Decades Building Patios That Last

We’ve been installing paver patios across Nassau and Suffolk counties for over two decades. We’re not the guys who show up, lay some stones, and disappear.

We handle everything from permits to proper base preparation because we know what happens when corners get cut. Your patio needs to handle Long Island’s freeze-thaw cycles, heavy rains, and everything else our weather throws at it.

Inwood homeowners choose us because we show up when we say we will, do the work right the first time, and stand behind what we build. No surprises, no excuses.

A backyard patio by a masonry contractor Long Island, NY, features four dark Adirondack chairs around a square fire pit, set on stone pavers with green artificial grass, gravel, and lush plants along a concrete block wall.

Patio Installation Process Inwood

Here's Exactly What Happens During Installation

First, we handle any permits your town requires and mark all utilities. Then we excavate to the proper depth – usually 6-8 inches – and install a compacted gravel base that won’t shift over time.

Next comes the sand leveling layer, followed by the pavers themselves. We cut each piece to fit perfectly, whether you want a simple rectangular layout or something more complex. Every paver gets set level and locked into place.

Finally, we sweep polymeric sand into the joints and compact everything. This isn’t just aesthetic – it prevents weeds, keeps pavers stable, and handles water drainage properly. The whole process typically takes 2-3 days depending on size and complexity.

Concrete paving slabs being installed by a masonry contractor Long Island, NY, on a layer of fine gravel or sand. One slab is raised above the others, clearly showing the installation process and surface material beneath.

Ready to get started?

Explore More Services

About DLZ Construction & Landscaping

Get a Free Consultation

Hardscape Design Near Me

What's Actually Included in Your Project

Your patio installation covers everything from design consultation to final cleanup. We start with a site visit to assess drainage, access, and any challenges specific to your property.

You get professional-grade base preparation, which is crucial in Inwood’s soil conditions. We use Class II road base and proper compaction techniques that prevent settling and drainage issues down the road.

Material selection includes pavers that handle Long Island’s weather extremes. We work with trusted suppliers and can show you options that match your home’s style and your budget. Installation includes edge restraints, joint sand, and a final sealant application if you choose it.

A modern outdoor patio by a top masonry contractor Long Island features a wooden picnic table, benches, and two candles under a large white umbrella on a patterned rug. In the background, there's a shaded pergola, green lawn, and trimmed hedges.

How much does a paver patio cost in Inwood, NY?

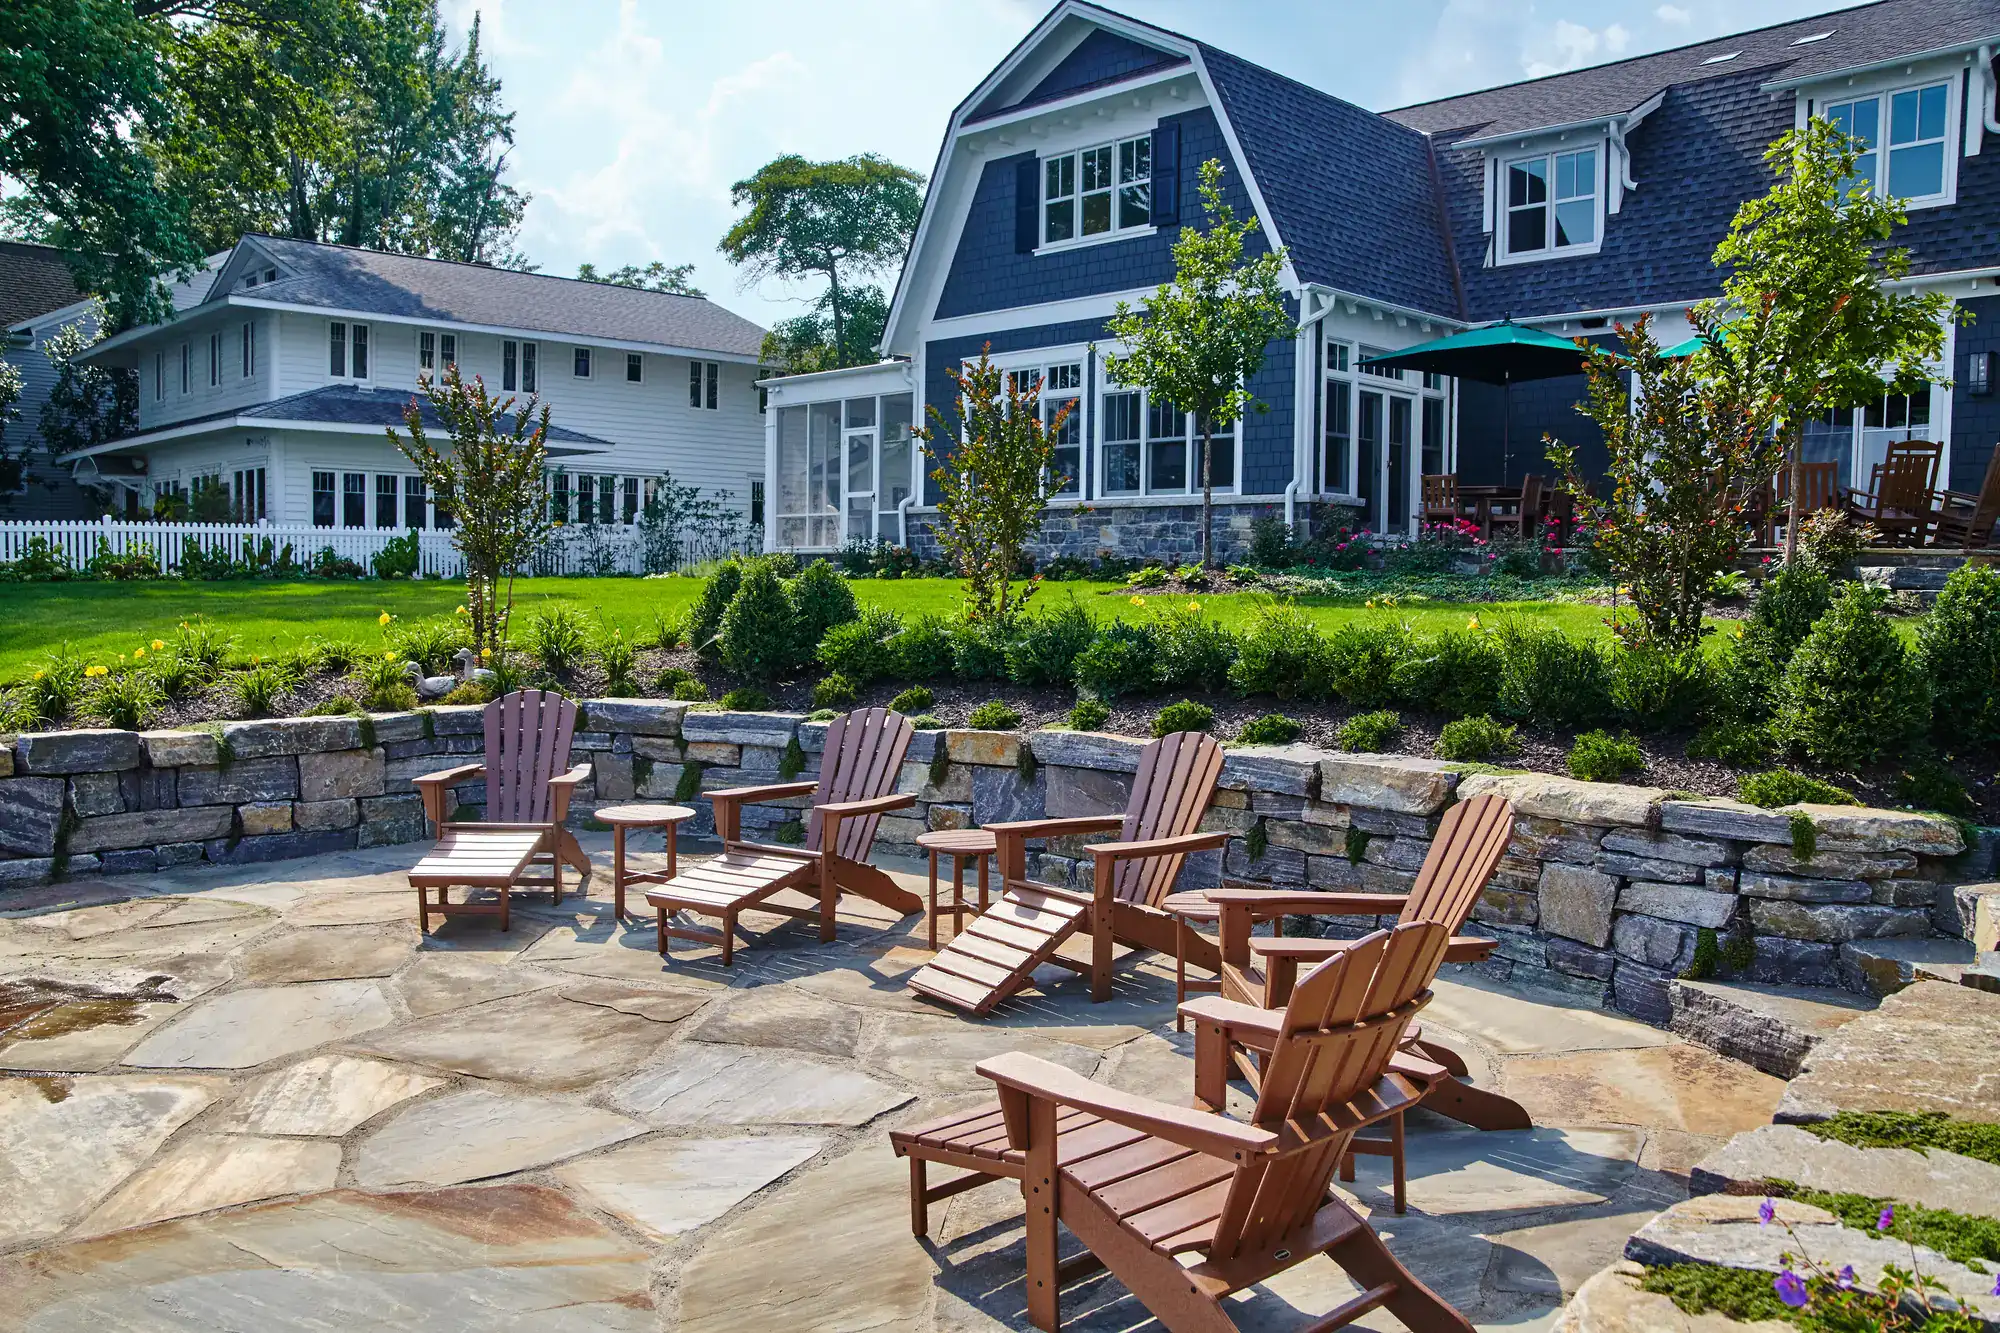
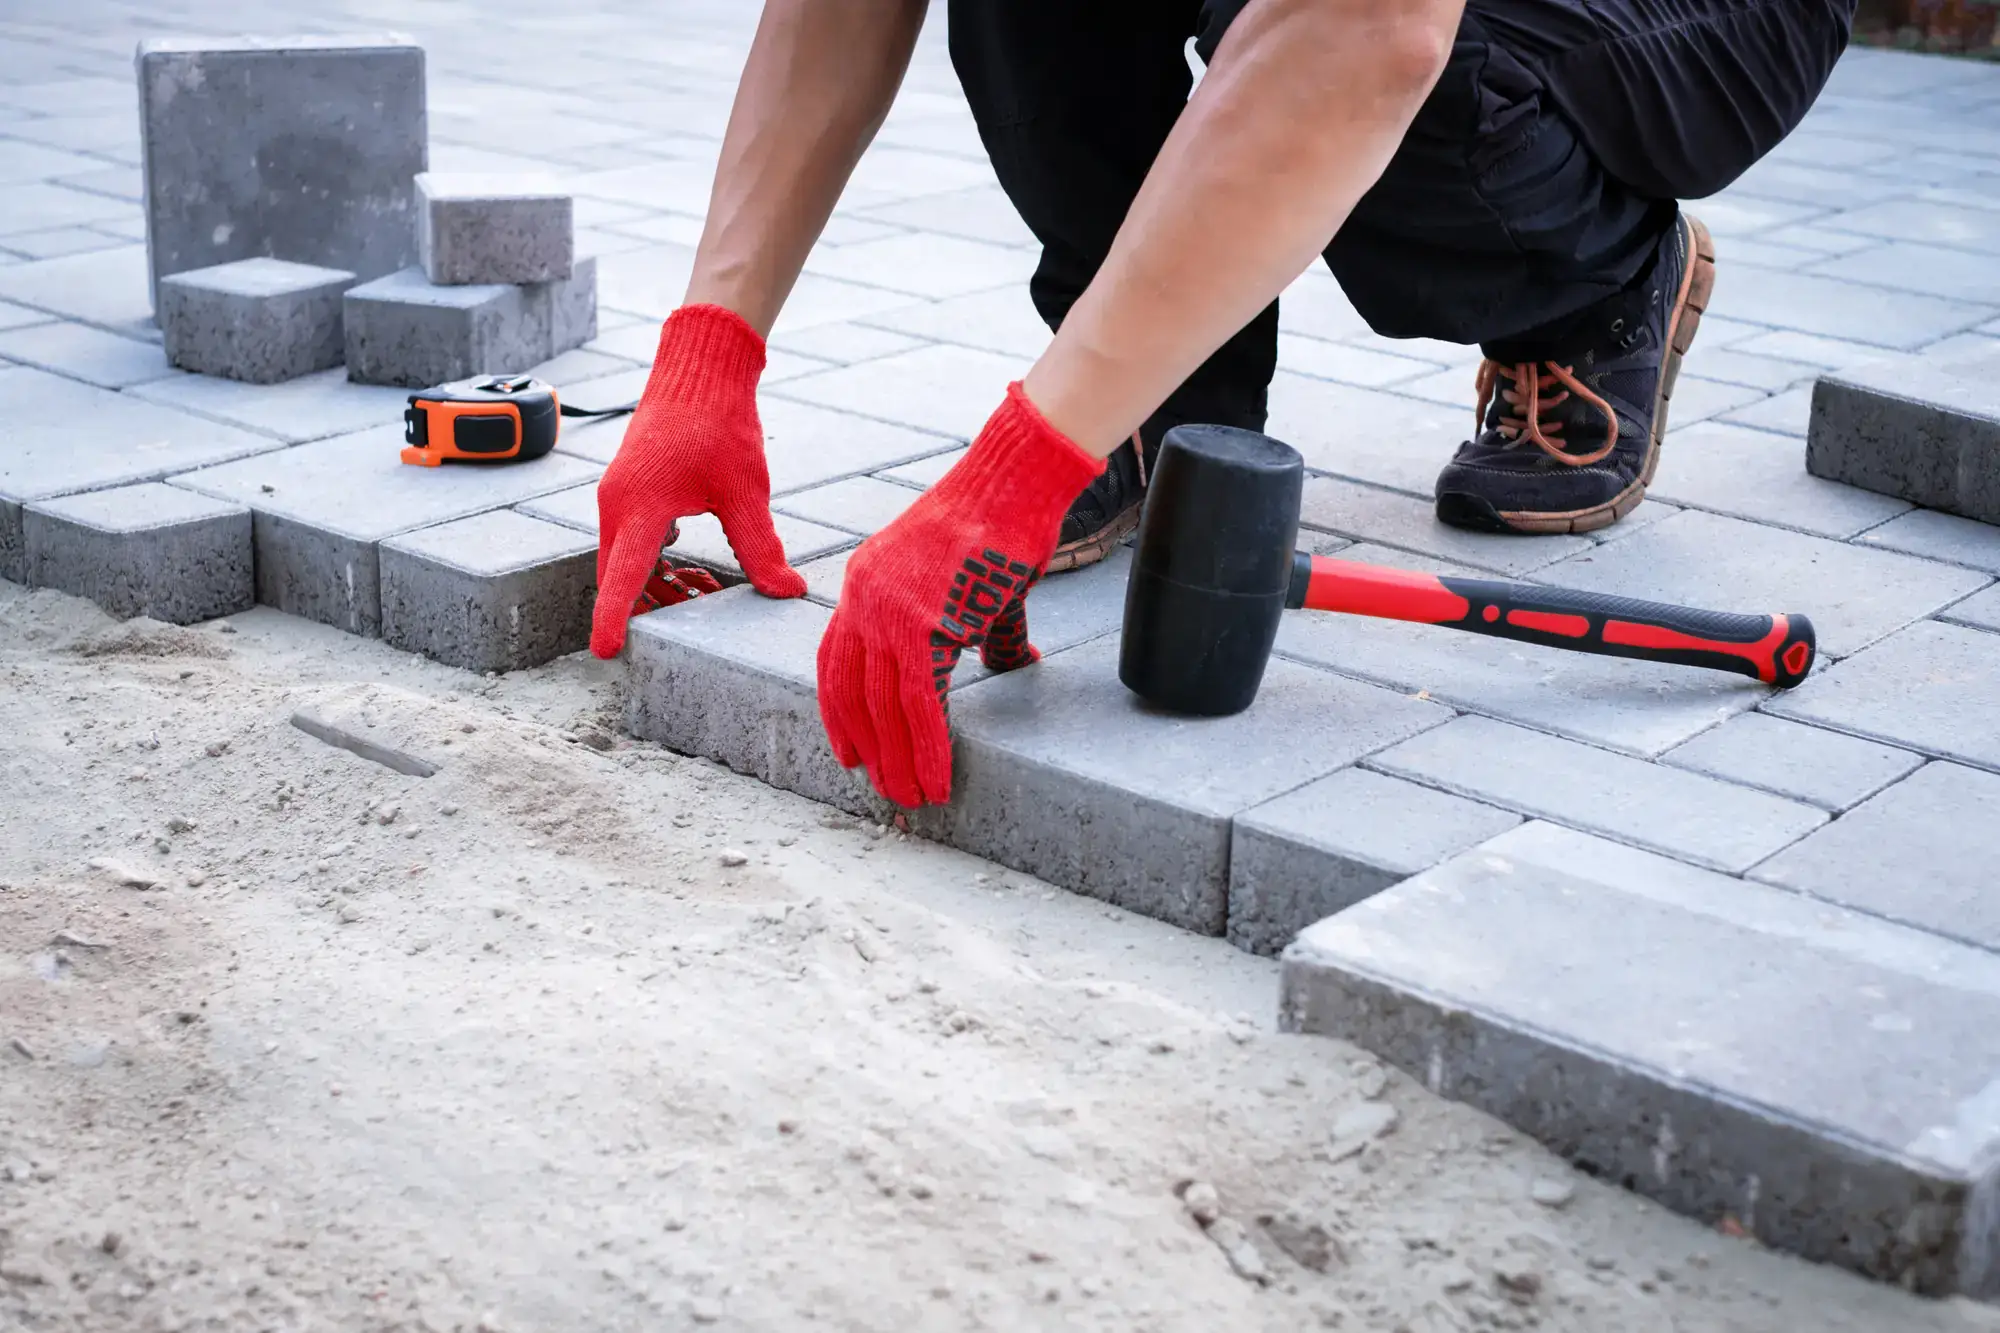
Most Inwood homeowners spend between $30-45 per square foot for professional paver patio installation. This includes materials, labor, and proper base preparation.A typical 12×16 patio runs $5,800-8,600, while a larger 16×20 space costs $9,600-14,400. The final price depends on paver type, site conditions, and design complexity.Simple rectangular layouts with concrete pavers cost less than intricate patterns with natural stone. We provide detailed estimates that break down material and labor costs so you know exactly what you’re paying for.
Concrete pavers handle Long Island’s freeze-thaw cycles better than most alternatives. They’re manufactured to specific standards, resist cracking, and come in styles that look like natural stone without the maintenance.Brick pavers are another solid choice – they’re durable, slip-resistant, and develop character over time. Natural stone looks beautiful but requires more maintenance and costs significantly more.For Inwood’s climate, we typically recommend concrete or brick pavers with proper joint sand. They last 25-30 years with minimal maintenance and handle everything from summer heat to winter ice.
Most paver patio installations take 2-4 days depending on size and complexity. A simple 12×12 patio might be done in two days, while a large patio with curves or multiple levels takes longer.Weather affects timing – we don’t install during heavy rain or when temperatures drop below freezing. Spring and fall are ideal, though we work year-round when conditions allow.Site preparation takes the longest. Excavation, base installation, and proper compaction can’t be rushed. The actual paver installation goes relatively quickly once the foundation is right.
Inwood permit requirements depend on patio size, location, and proximity to property lines. Most patios under 200 square feet don’t require permits, but larger installations often do.If your patio includes electrical work for lighting or affects drainage patterns, permits are typically required. We handle the permit process and know local requirements.It’s always better to check first. Unpermitted work can cause problems when you sell your home, and some insurance companies won’t cover damage from unpermitted installations.
Paver patio maintenance is straightforward. Sweep regularly to prevent debris buildup and hose down as needed. For stains, use mild soap and water – avoid pressure washers on high settings.Reapply joint sand every 2-3 years or when you notice gaps. This prevents weeds and keeps pavers stable. If individual pavers crack or chip, they can be replaced without redoing the entire patio.Sealing isn’t required but helps with stain resistance and color retention. If you choose to seal, plan on reapplication every 3-5 years depending on traffic and weather exposure.
Yes, but only if the existing concrete is in good condition – no major cracks, proper drainage, and level surface. The concrete needs to be structurally sound and at the right height for proper drainage.We add a thin sand leveling layer over the concrete, then install pavers normally. This saves excavation costs but limits design options since you’re working with the existing footprint.If your concrete has significant cracks, settling, or drainage issues, removal and proper base installation usually makes more sense long-term. We assess each situation and recommend the best approach for your specific property.