Your complete guide to choosing and installing patio pavers that withstand Long Island's weather while creating beautiful outdoor spaces.
Share:

Summary:
Here’s something most contractors won’t tell you upfront: concrete patios and Long Island weather don’t play nice together. You’ve probably seen it—those spider web cracks that show up after a few winters, or sections that heave and settle unevenly.
Patio pavers, solve this problem differently. Instead of one massive slab that has to move as a unit, you get individual pieces that can shift slightly with the ground. When the soil expands and contracts with our temperature swings, pavers adjust. Concrete just cracks.
Plus, if one paver eventually needs replacement, you swap it out. With concrete, you’re looking at cutting, removing, and patching—and it never quite matches.

Long Island’s weather throws everything at your patio. We get coastal humidity in summer, snow loads in winter, and those freeze-thaw cycles that can destroy improperly installed surfaces in just a few seasons.
The key is choosing materials rated for these conditions. Quality concrete pavers with higher PSI ratings handle moisture absorption and temperature changes better than cheaper alternatives. Natural stone options like bluestone are popular here because they’ve literally been tested by centuries of Northeast weather.
But here’s what really matters: the installation. Even the best pavers fail if the base isn’t prepared correctly. In Suffolk and Nassau County, we deal with clay soils that require specific techniques to prevent settling and water issues. You need proper excavation depth—usually 9-12 inches below finished grade—to allow space for base materials that won’t shift when the ground freezes.
Drainage becomes critical too. Without proper slope and base materials that allow water to move through rather than pool, you’ll have problems. A 2% slope directing water away from your house, combined with permeable base materials, prevents the water accumulation that leads to paver displacement during freeze cycles.
We understand these local conditions. We know that what works in Florida or Arizona won’t necessarily work here. The extra investment in proper base preparation and materials rated for our climate pays off in decades of trouble-free use.
Walk through any established Long Island neighborhood and you’ll see the paver materials that actually last here. Concrete pavers dominate for good reason—they offer the best combination of durability, design options, and cost-effectiveness for our climate.
Cambridge Pavingstones with ArmorTec technology are particularly popular among local contractors. The protective coating helps resist staining and fading, which matters when you’re dealing with coastal salt air and UV exposure. These pavers come in dozens of colors and patterns, so you’re not limited to basic gray rectangles.
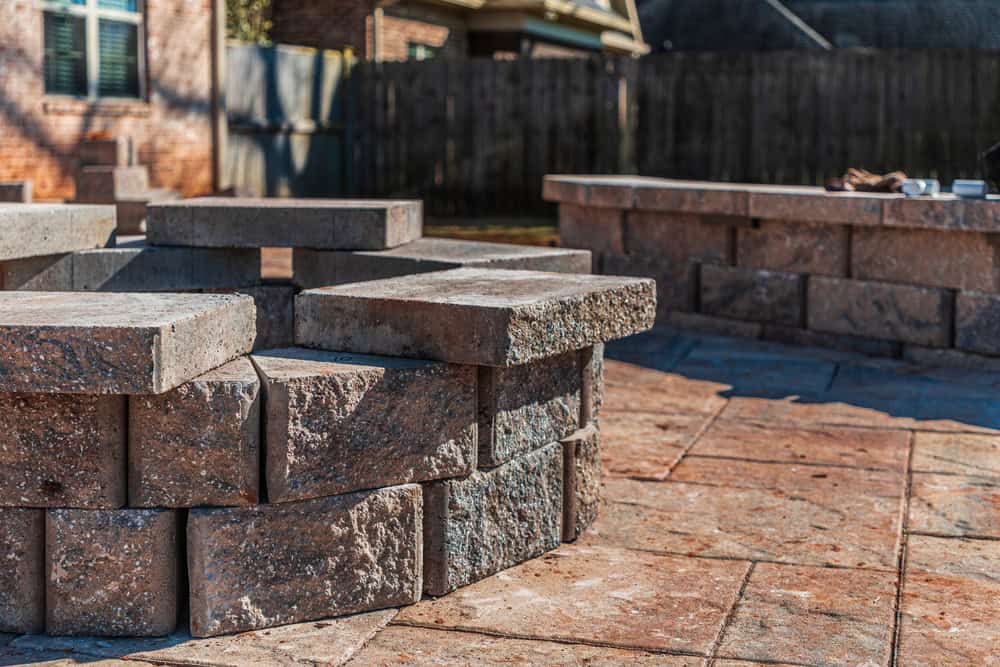
Natural stone brings timeless appeal but requires more consideration. Bluestone works beautifully and handles our weather well, but it costs significantly more than concrete options. Travertine looks elegant but can be more maintenance-intensive in our climate. Brick pavers offer classic charm but may require more frequent resealing.
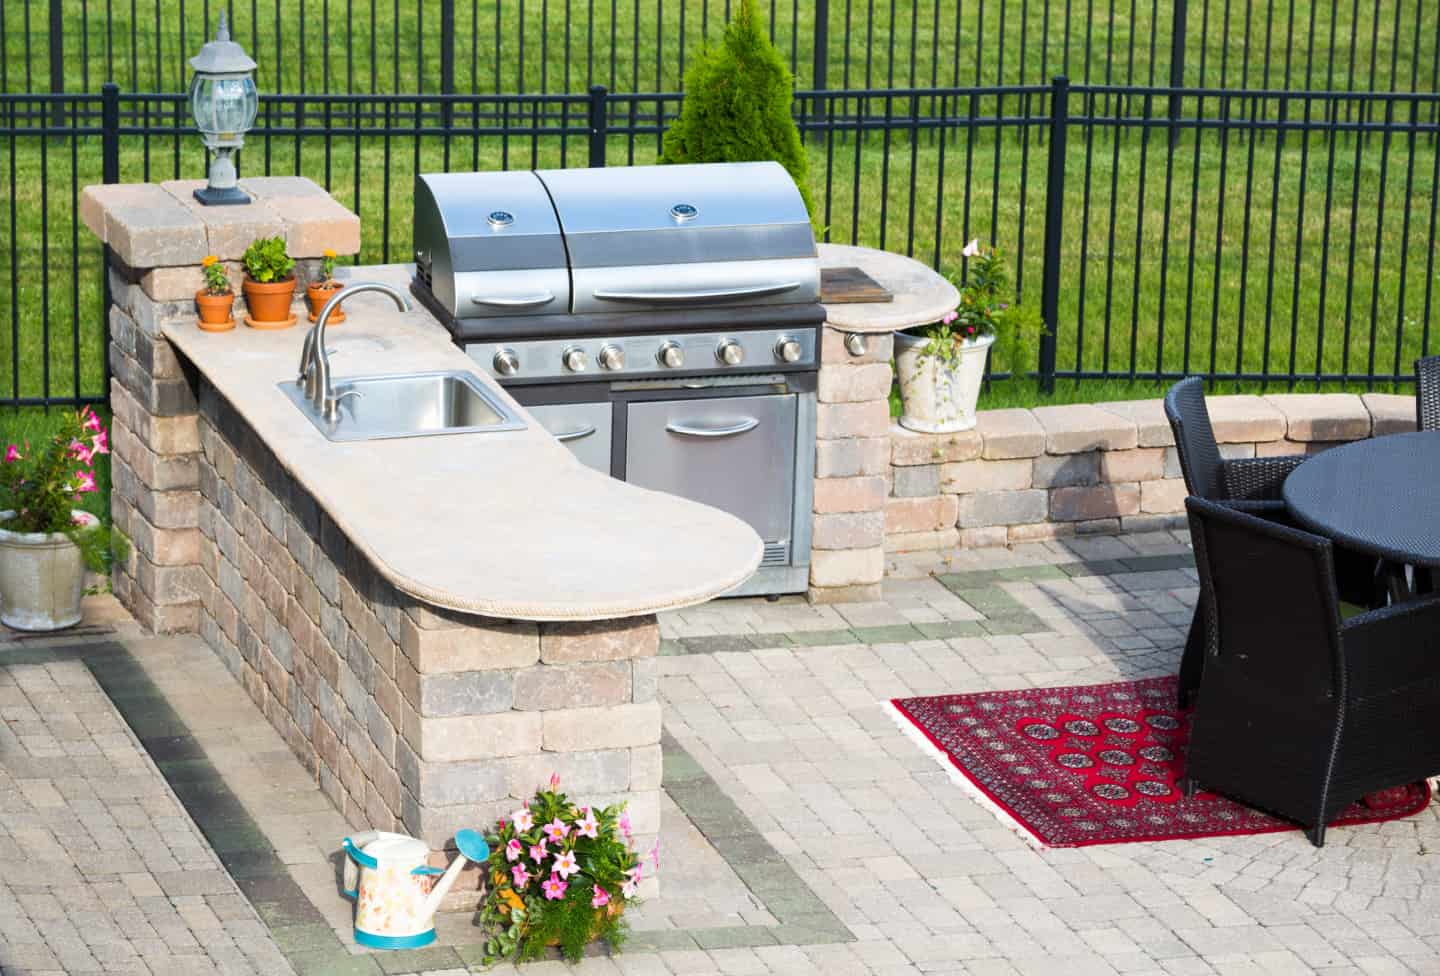
The newest trend involves mixing materials—combining smooth concrete pavers with textured stone accents, or using different colors to create borders and patterns. This approach lets you get the visual impact of premium materials without the full cost.
What really matters isn’t just the paver material itself, but how it’s manufactured and installed. Higher-end concrete pavers from manufacturers like Unilock, Belgard, or Techo-Bloc outperform cheaper home center options because they’re engineered for durability. They cost more upfront but avoid the replacement headaches that come with lower-quality materials.
Size matters too. Larger pavers—24×24 inches or bigger—create a more open, sophisticated look and require fewer joints, which means less maintenance over time.
Let’s be honest about DIY paver installation: it’s not just about laying stones in sand. Proper installation requires understanding soil conditions, drainage patterns, and base preparation techniques that most homeowners simply don’t have experience with.
The base preparation alone involves multiple steps that can make or break your project. You need proper excavation, soil compaction, gravel base installation, and precise leveling—all before you even touch the first paver. Get any of these steps wrong, and you’ll be dealing with settling, shifting, or drainage problems within a few years.
We bring specialized equipment and local knowledge that DIY projects can’t match. We understand Long Island’s soil conditions and know how to handle everything from clay to sandy soils.
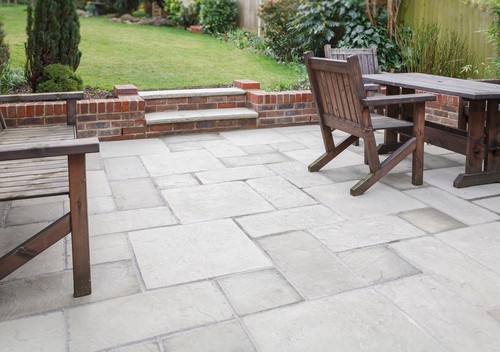
Our paver installation follows a specific sequence that ensures long-term performance. It starts with proper site evaluation and planning, including checking for utilities and determining drainage requirements.
Excavation comes next, typically 9-12 inches deep to accommodate base materials and pavers. The subsoil gets compacted to prevent settling, then a geotextile fabric goes down to separate the base from the soil and prevent mixing.
The base material—usually crushed stone or recycled concrete aggregate—gets installed in lifts and compacted with plate compactors or rollers. This creates a stable foundation that won’t shift with freeze-thaw cycles. A bedding layer of sand provides the final leveling surface for the pavers.
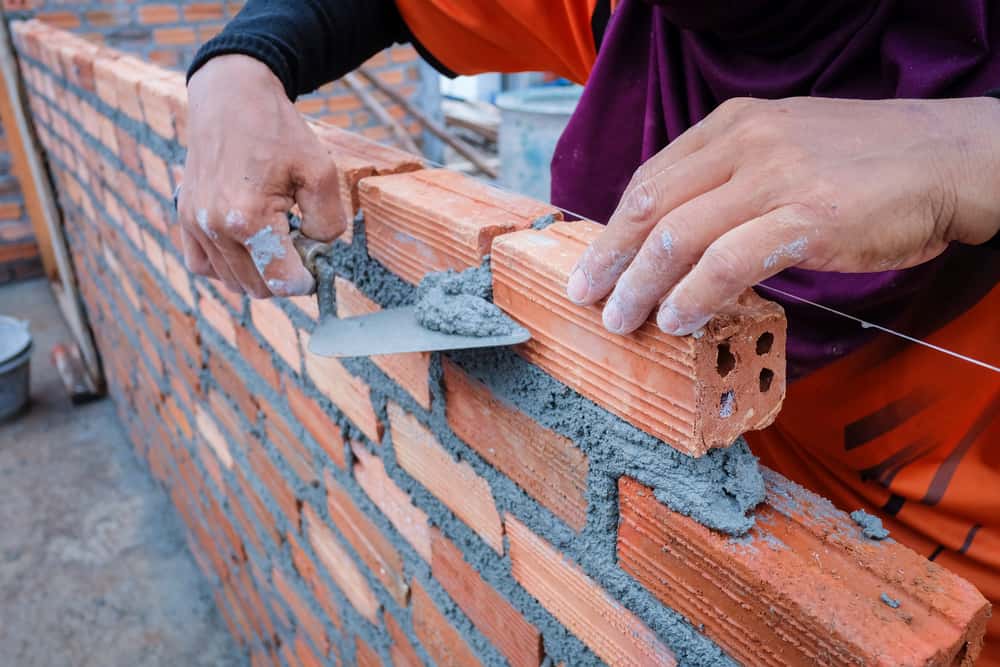
Paver installation requires precision. Each paver needs to be level with its neighbors and properly spaced. We use string lines and levels to maintain consistent patterns and slopes. Edge restraints—plastic, aluminum, or concrete—get installed to prevent the pavers from spreading over time.
The final step involves sweeping polymeric sand into the joints. This specialized sand contains additives that help bind the pavers together and prevent weed growth. It needs to be applied when pavers are completely dry and activated with water according to manufacturer specifications.
Our installations typically take 3-5 days for an average patio, depending on size and complexity. DIY projects often stretch over weeks or months and frequently require costly corrections when problems become apparent.
Our paver patio installation in Suffolk and Nassau County typically runs $30-45 per square foot, depending on materials and site conditions. That might seem steep compared to DIY costs, but consider what you’re actually getting.
Our installation includes proper base preparation, quality materials, and warranties that protect your investment. When problems arise with DIY installations, the cost to fix them often exceeds what professional installation would have cost initially.
The real value comes from longevity. Properly installed paver patios last 20-30 years or more with minimal maintenance. Compare that to concrete patios that often need significant repairs or replacement within 10-15 years, especially in our climate.
Maintenance costs stay low with professional installation. Annual joint sand replenishment and occasional cleaning handle most requirements. Power washing removes surface dirt and stains, and individual damaged pavers can be replaced without affecting surrounding areas.
The investment pays off in property value too. Well-designed paver patios typically return 60-70% of their cost in increased home value, plus you get years of enjoyment from the improved outdoor space.
Consider financing options if the upfront cost seems daunting. We offer payment plans that let you spread the cost over time while still getting professional results. The monthly payment often costs less than the ongoing maintenance and repair expenses you’d face with cheaper alternatives.
Your patio investment deserves to be done right the first time. Long Island’s climate demands materials and installation techniques that can handle our unique challenges—from coastal moisture to freeze-thaw cycles that destroy improperly built surfaces.
Quality paver materials, professional installation, and proper maintenance create outdoor spaces that enhance your property value and provide decades of enjoyment. The upfront investment in doing it right pays off in lower long-term costs and better performance.
When you’re ready to move forward with your paver patio project, we at DLZ Construction and Landscaping Inc. bring over 20 years of experience to Suffolk and Nassau County properties. We understand local conditions and use only the best materials and techniques to ensure your investment stands the test of time.
Article details:
Share:
Continue learning: